Bambu Lab H2S Review
I’ve had the Bambu Lab H2S for a couple of months now and I’ve been printing a lot on it. During that time I’ve found a lot of things I love about this machine, and a couple of things I’m less impressed with, so in this review I’ll share those.
Build and What’s New
First off, let’s talk about the build of this machine and what’s new if you’re coming from one of the older machines from Bambu Lab.
At first glance, this just looks like a bigger Bambu Lab printer, and you’d be right, but there’s a lot more going on with this machine than just its size. On the outside, it is of course larger, but keeps that same Bambu Lab design. One of the big improvements over the early P series is that lovely tilt-able touch screen on the corner. It’s bright, responsive, and allows you to use the machine without relying on the desktop or phone application.
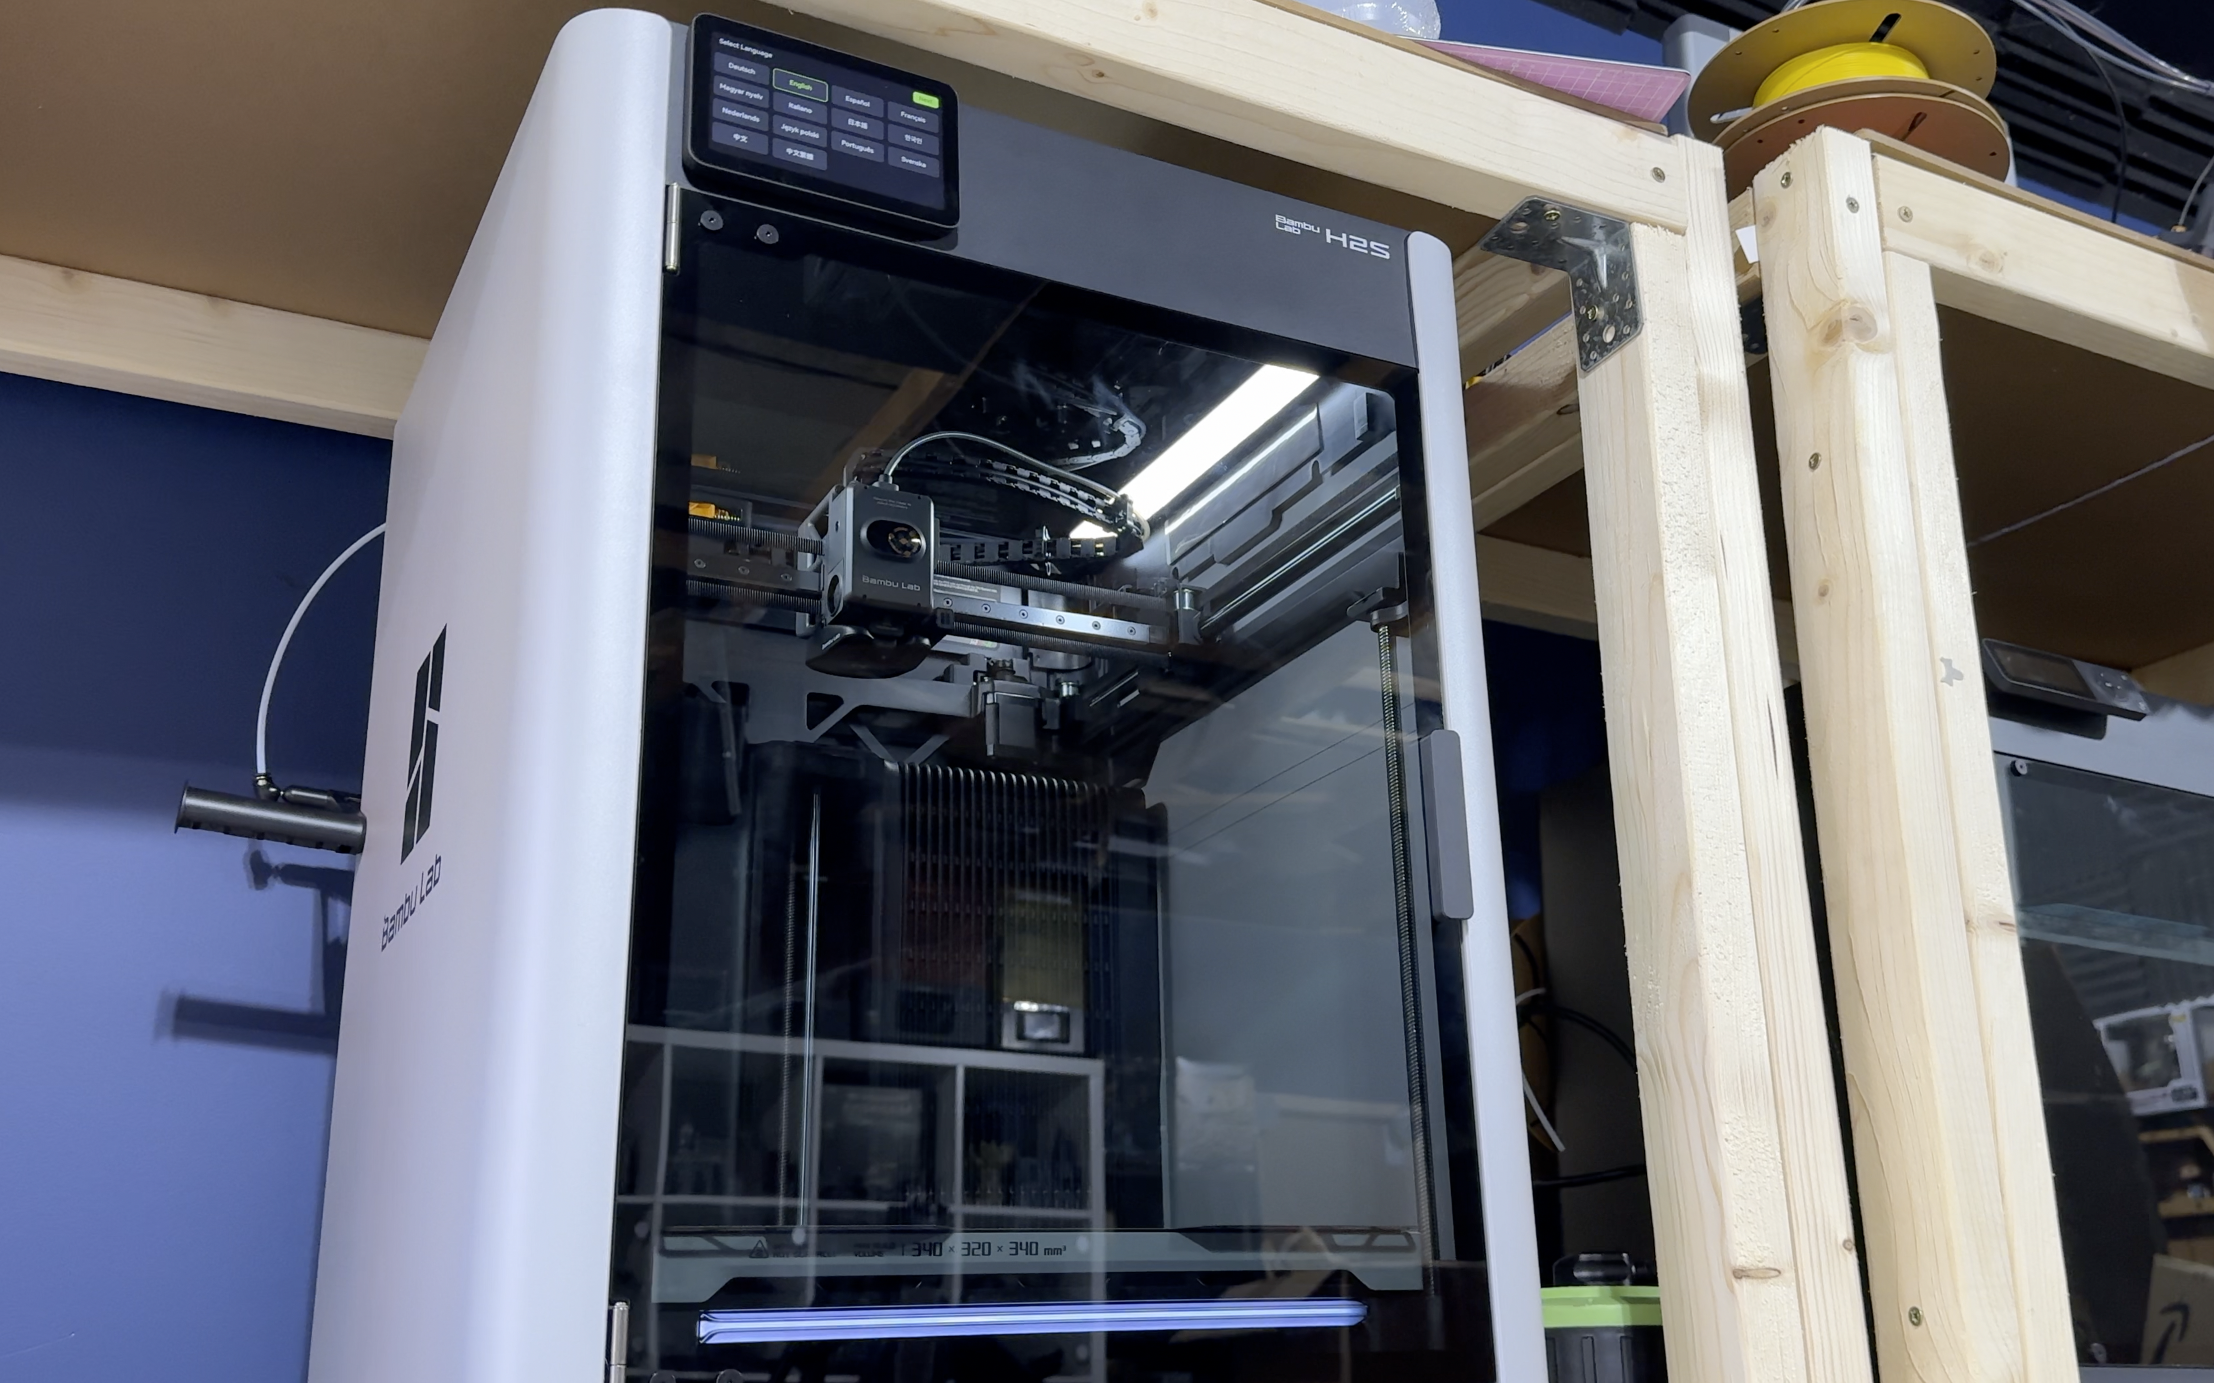
Just above the screen is a USB which is for recording timelapses to. Due to the height of the machine this might be awkwardly placed for some, like on mine, the shelf above it is just a little too close for comfort, but that really is setup dependent.
On the bottom of the machines sides you’ve also got these little handles that help to move it into place, which do genuinely come in handy. You won’t be moving this around much because it weighs a lot, but I was able to lift it myself.
Also on the bottom are these vibration dampening feet, that also do a very good job of stopping the printer from moving if it’s on a relatively smooth surface.
Up top is a vent for helping with airflow and temperature control when printing PLA, and on the back you’ve also got an exhaust vent as well to help with temperature and extraction when dealing with different materials.
Without the AMS, filament is side mounted, and this is the first design area that falls down with this machine. It’s hard to load filament here because it just feels a little too close to where the filament slots in. This seems to be fixed on the P2S, so I’m guessing it’s not just me who doesn’t like the placement. It’s a minor issue though.
Opening up the machine is where we see some of the big improvements. If you’re into lighting, well this has an LED lighter which changes color depending on the status of the machine. The build plate is similar to previous generations, however it is so easy to get into place with two little notches at the rear, so you get it right every time you slot it into position.
There’s a new camera which is much improved, allowing for better timelapses and remote viewing. These images no longer look grainy and washed out, and genuinely come in handy.
This brings me onto the second thing I dislike about the printer, timelapses. Mine just doesn’t work properly and it could just be user error. When I have a USB plugged in and set the machine to record a timelapse, print quality absolutely falls apart and the print will often just look like trash. I’ve had a little look into it and apparently it has something to do with the machine pausing at different points to take the picture, and this can cause issues, but for now I’ve given up on timelaspes for the machine.
As part of that, we also have some AI monitoring, one of these being spaghetti detection. This flagged a few times during my printing, and it sends an alert to your phone, pauses the print, and asks you to review if the print really is failing. Both times when it happened to me the print was indeed failing and I was able to stop the print, therefore wasting less filament. There’s also a feature that will detect if there is something on the print bed when you hit print, for those times when we forget what’s currently happening with your printer.
Moving over to one of the biggest improvement on the inside is the nozzle system. Bambu have gone with a similar system to what was introduced with the A1 Mini, a very quick and easy method of changing nozzles. You remove the sock, unclip this fastening, then slot the nozzle out, put a new one in and do the process in reverse. It’s incredibly quick and easy to do, and great for maintenance.
Print Quality
So how does it print? Honestly, this machine has been great so far, giving absolutely fantastic results.
The first thing I will say is that there is no huge difference between this, and the P1S or even the A1. In terms of quality, they are almost identical, with the only real difference in quality being the H2S prints better when it comes to taller prints.
The big stand out is obviously the size, and that’s where this machine really shines.
I’ve printed a whole range of things like terrain pieces and tiles for wargaming, which have all come off looking fantastic. Most things will fit on a smaller print bed, but here you can go for some of those really big pieces and not worry about print volume.
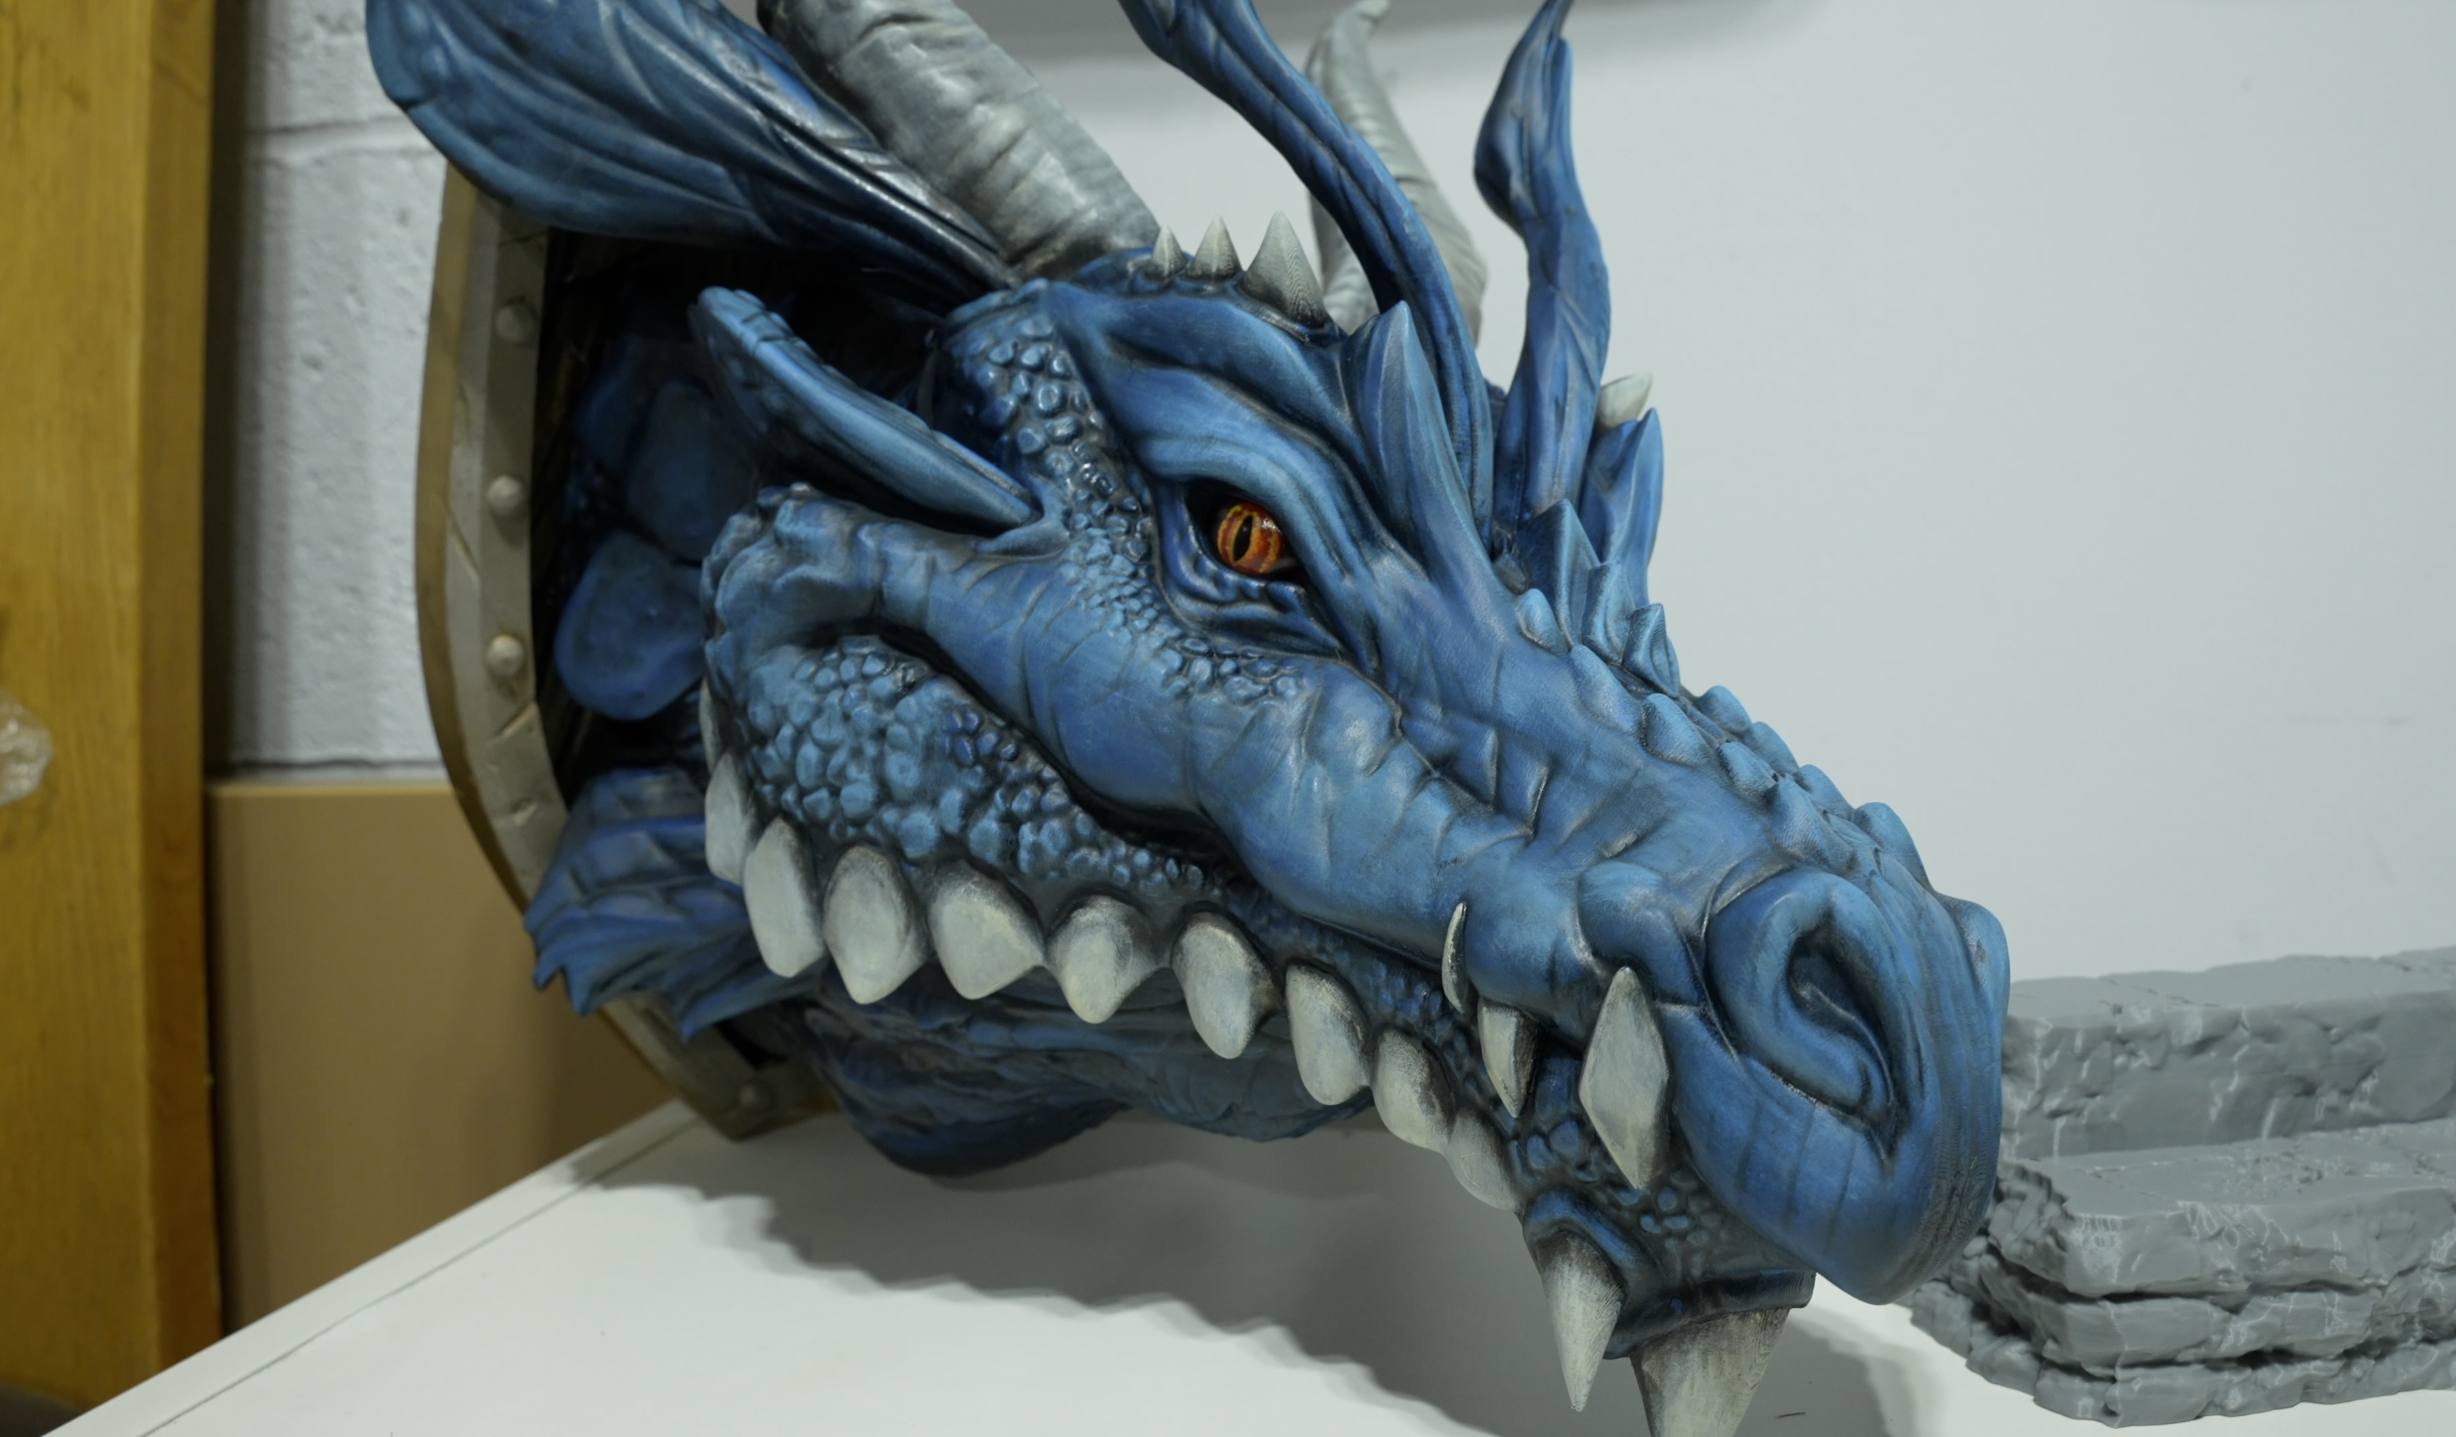
Where it really comes into its own is for some of these decoration bits I’ve been printing for my backdrop, and cosplay. First off, this dragon head I printed looks incredible. I scaled it up to take full advantage of the machines build volume, and it came out looking amazing. The shield base also printed with no issues, and there was no need to cut it into bits.
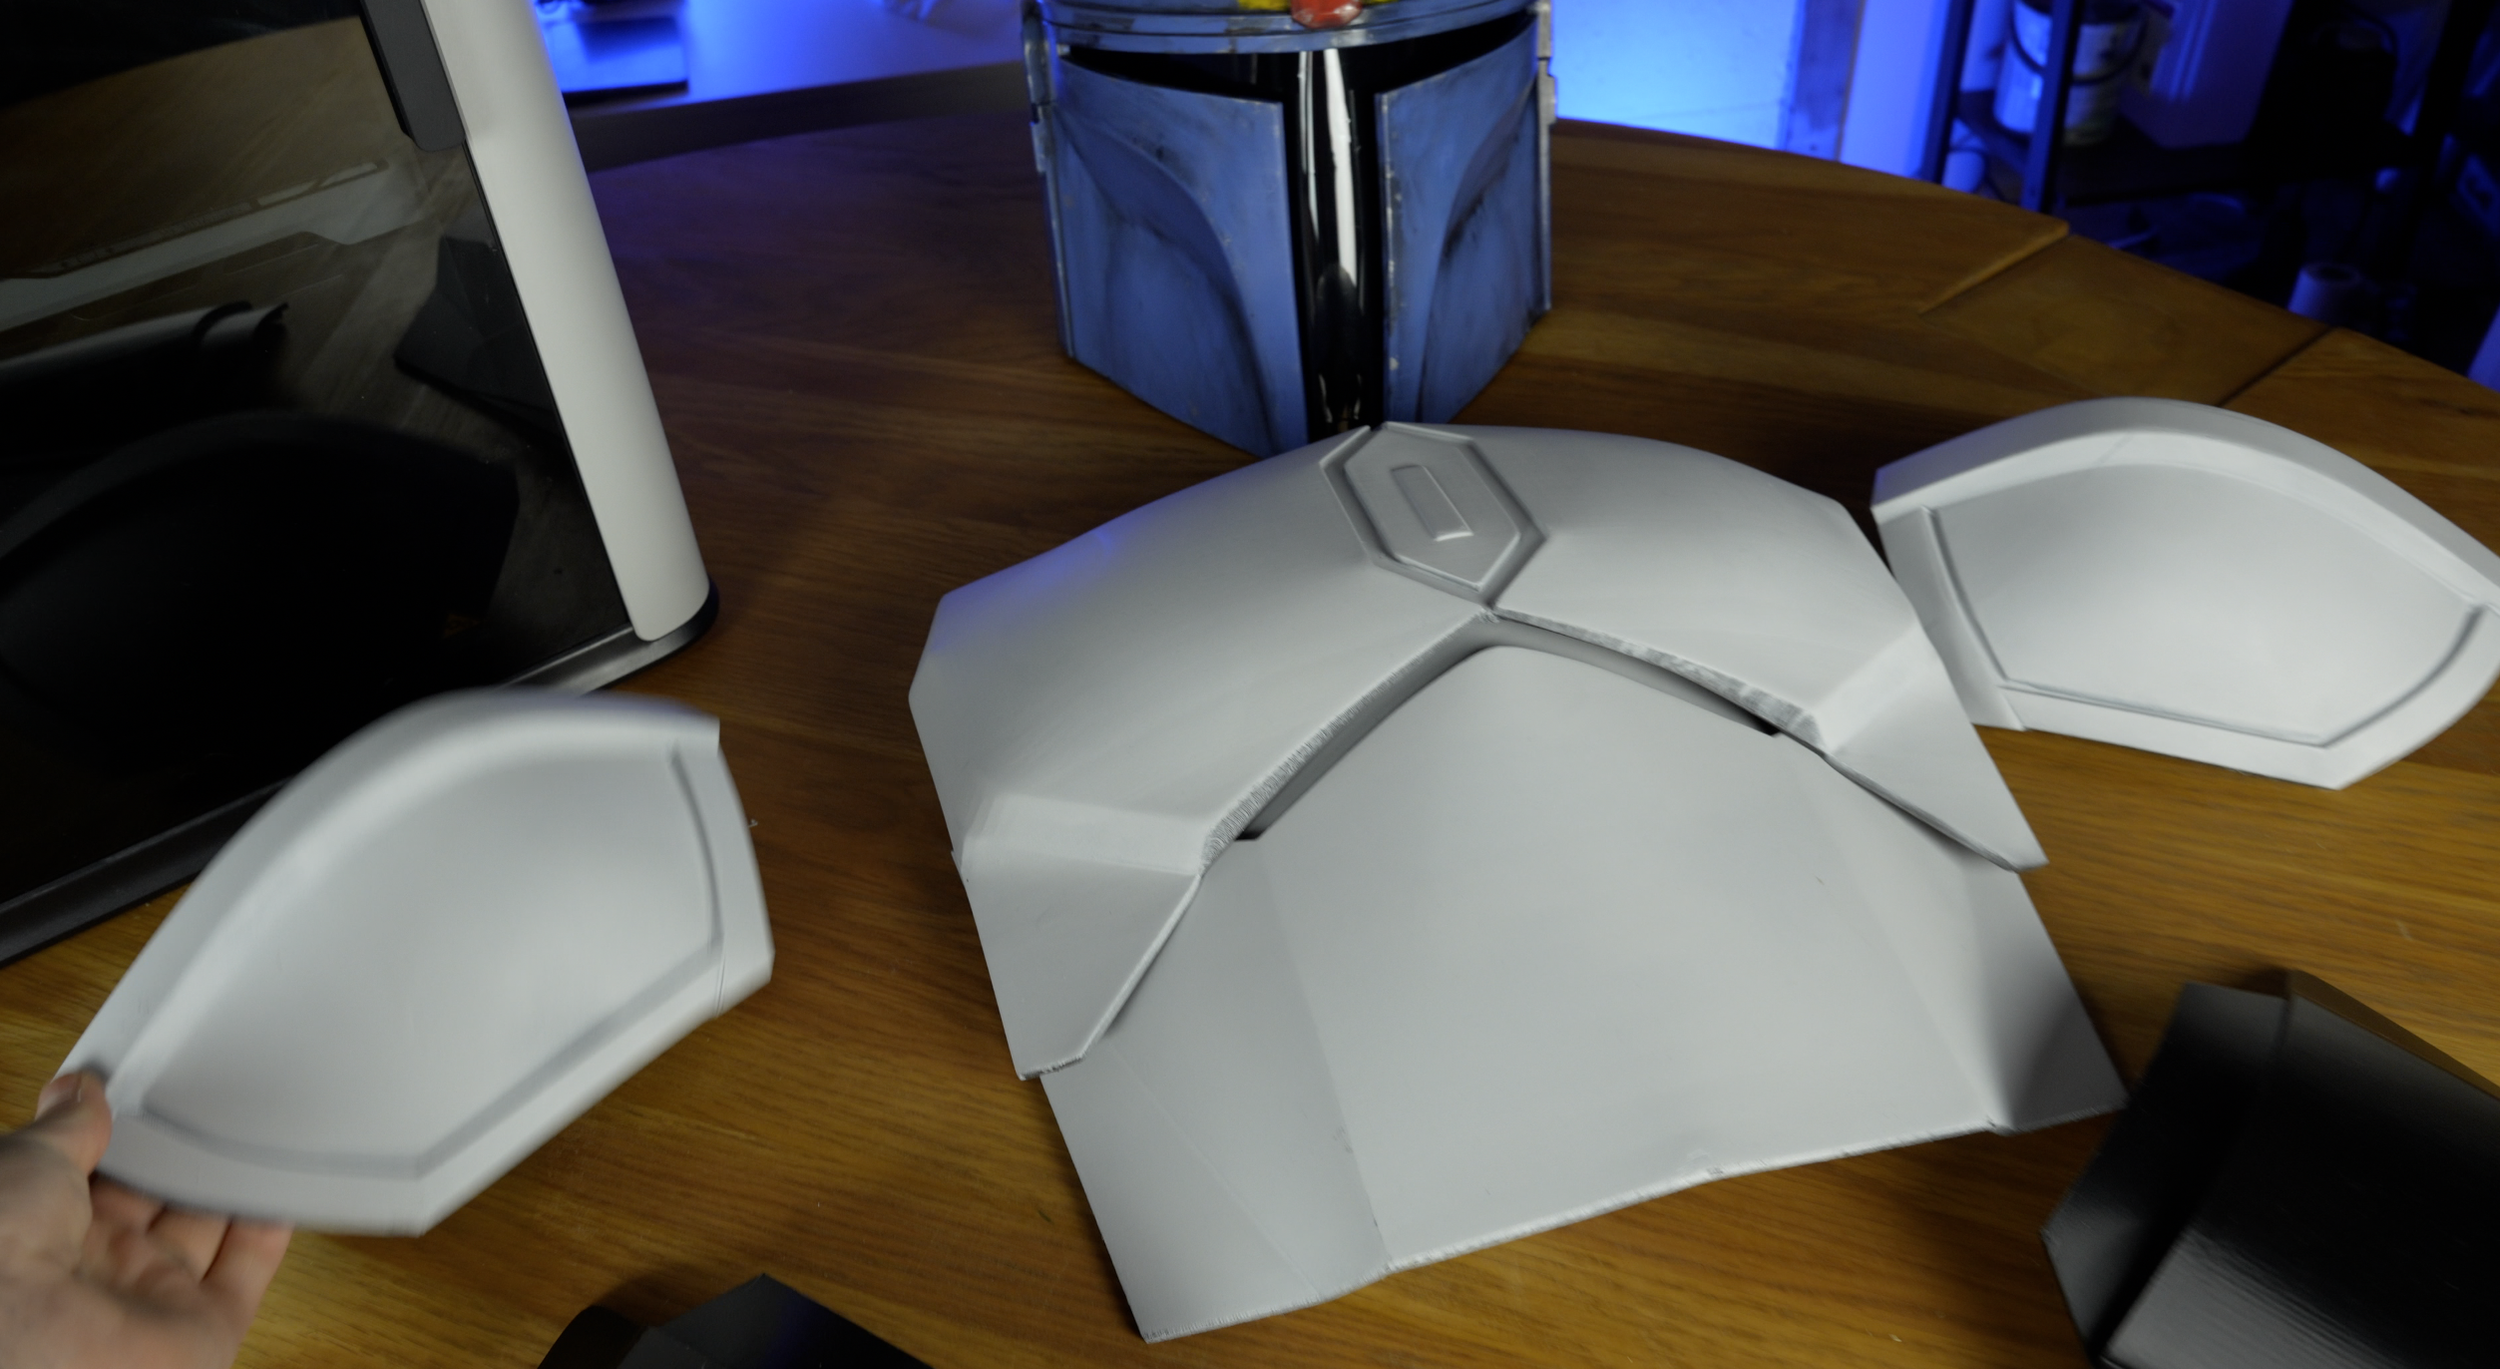
With this mandalorian armor, all these parts came off in one piece, including the chest armor. I printed all of this in PETG to see how it performed, and the results were great. The supports seemed incredibly dubious, but the machine managed it to my surprise.
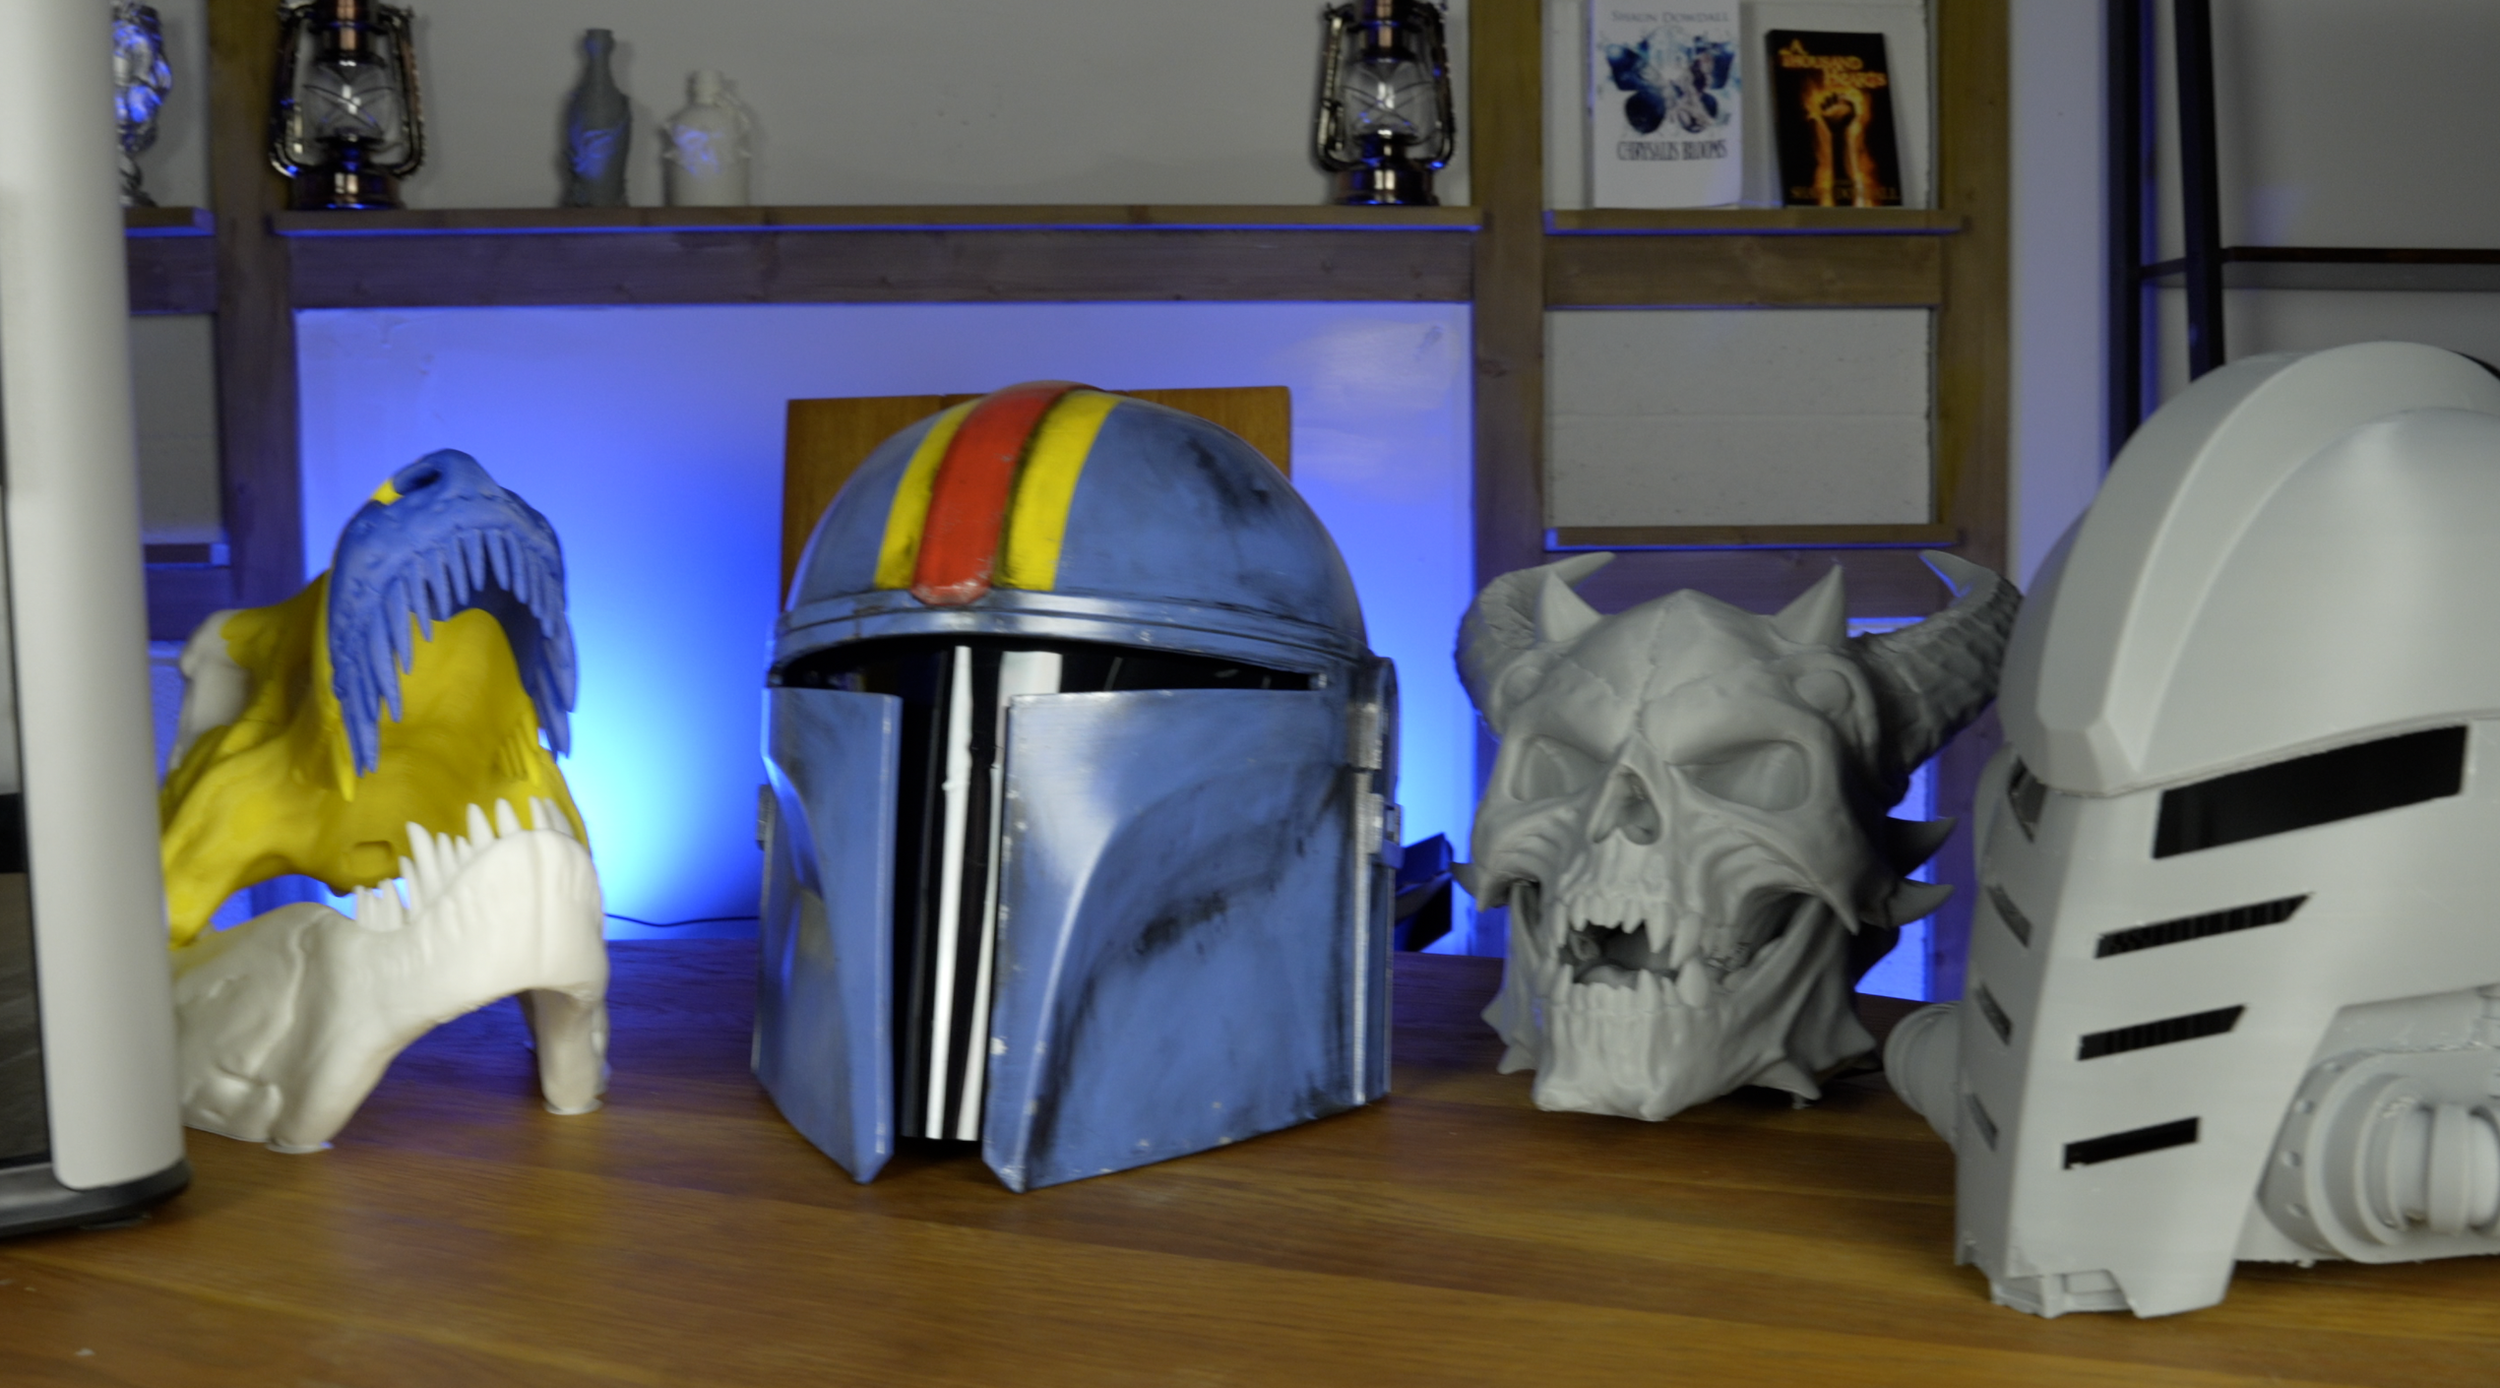
Then there are all these backdrop props and skulls I’ve been printing. The great thing about this is you can fully utilize that print volume and go big, meaning there is far less cleanup and work afterwards. No more sticking things together and then covering the join lines, it just comes off in one part.
Other Things
So it prints well, but what other considerations are there when it comes to this machine?
First off, you’ll probably want an AMS for this. I’m not saying this for the multimaterial printing side of things, but because you’ll naturally find yourself printing larger objects that will often run out of filament mid print. Now it will warn you when that happens, but no matter how fast I’ve been at swapping the new filament in, I always get an ugly mark on my print, like on this space marine helmet which actually caused a weakness in the finished print. Having the AMS would autoload the new filament in so long as it matches, and would help to avoid this.
A quick word on multilateral printing. Although this printer will do it when paired with an AMS, if multimaterial and color printing is you primary need, then the H2D or even the H2C will be better placed for this. The H2S can be upgraded to a H2C, but it costs a fair chunk, and it also looks like a very involved process.
You can also get the laser module for this printer, but I’ve not tried it so can’t comment on how effective it is.
Just a word on power consumption. It uses approximately 160-170w printing PLA and pretty much the same for PETG as well. That’s not dissimilar to my P1S, however, during startup it uses around 1000w which is more than my P1S, so if you have a bunch all plugged into one outlet it’s something to be mindful of. Staggering the print jobs is fine since the power draw during printing is fine, but starting them all at once might cause some issues.
Conclusion
So all in all I absolutely love this machine. It is by fay my favourite machine from Bambu Lab so far and I would definitely recommend it. However that comes with a big caveat. If you don’t need to print large props or cosplays pieces, then you’ll be better off with one of the smaller and far cheaper machines like a P2S. The print quality is almost identical, and they take up less room.
However, if you’re in the market for a large format printer that gives excellent quality, and multimaterial printing isn’t at the top of your priority list, then this might be the perfect machine for you.